
Battle of the Trident Map Ruby Ford, Robert Baratheon, Rhaegar Targaryen, Rebellion Route & Dynasty Collapse
The river crossing where Robert’s Rebellion broke the Targaryen dynasty
The Battle of the Trident map turns a river crossing into the hinge of a dynasty. Ruby Ford is where rebel momentum, royal legitimacy and personal rivalry collide in a single battlefield.
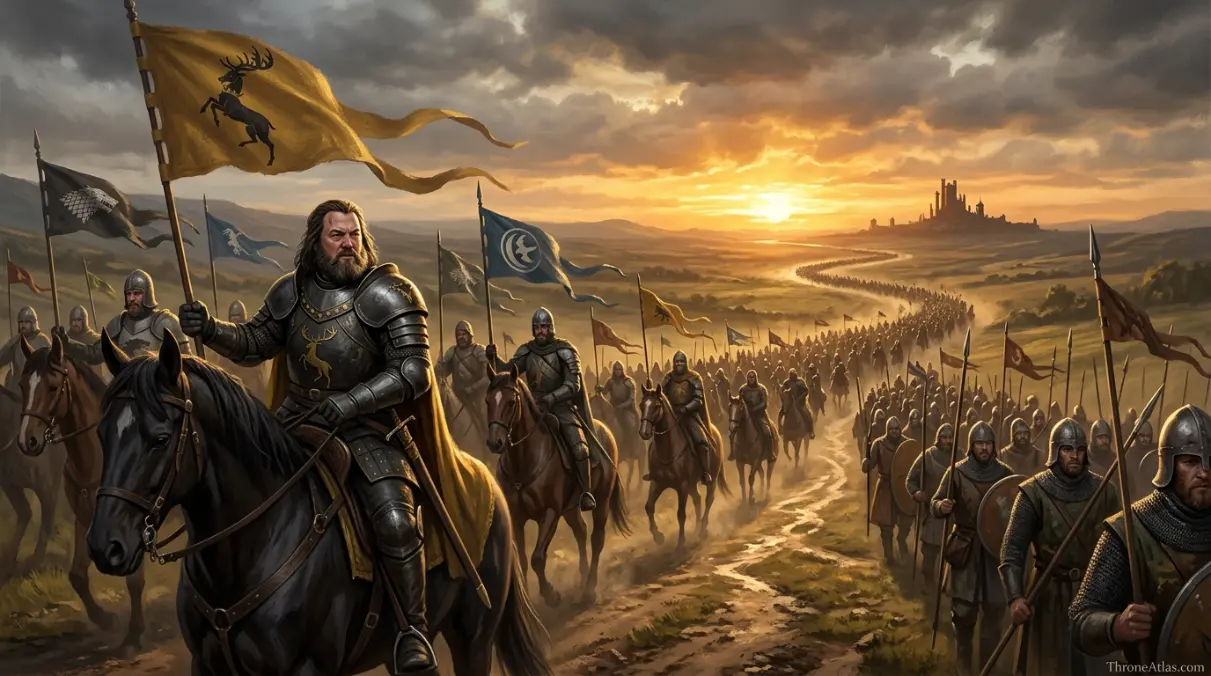
The Battle of the Trident map centers on Ruby Ford, a crossing of the Trident in the Riverlands where Robert Baratheon’s rebel forces meet Prince Rhaegar Targaryen’s royalist army. The key map points are the river crossing, rebel approach, royalist line, cavalry engagement, Robert and Rhaegar’s duel, the scattered rubies from Rhaegar’s armor, and the route from victory toward King’s Landing. The battle effectively ends Targaryen hopes in Robert’s Rebellion.
What this Battle of the Trident Map explains
The cards below give the fast orientation before the deeper route, table and FAQ sections.
Main points on the Battle of the Trident Map
This simplified graphic is designed for reading flow, not exact geographic scale. Use it to understand order, pressure and consequence.
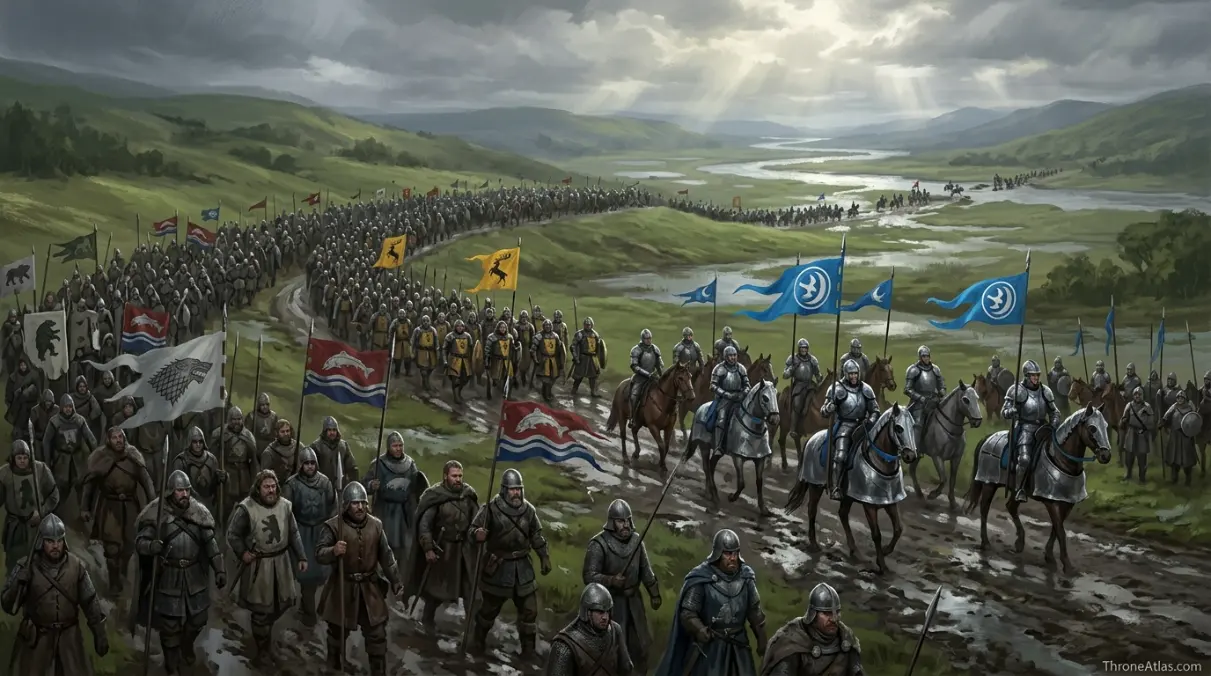
Rebel and royalist forces move toward the river system where the war must be decided.
The river turns movement into confrontation and limits easy escape.
The ford becomes the focal point where armies and claims collide.
The rebel coalition brings Stormlands, Vale, North and Riverlands pressure together.
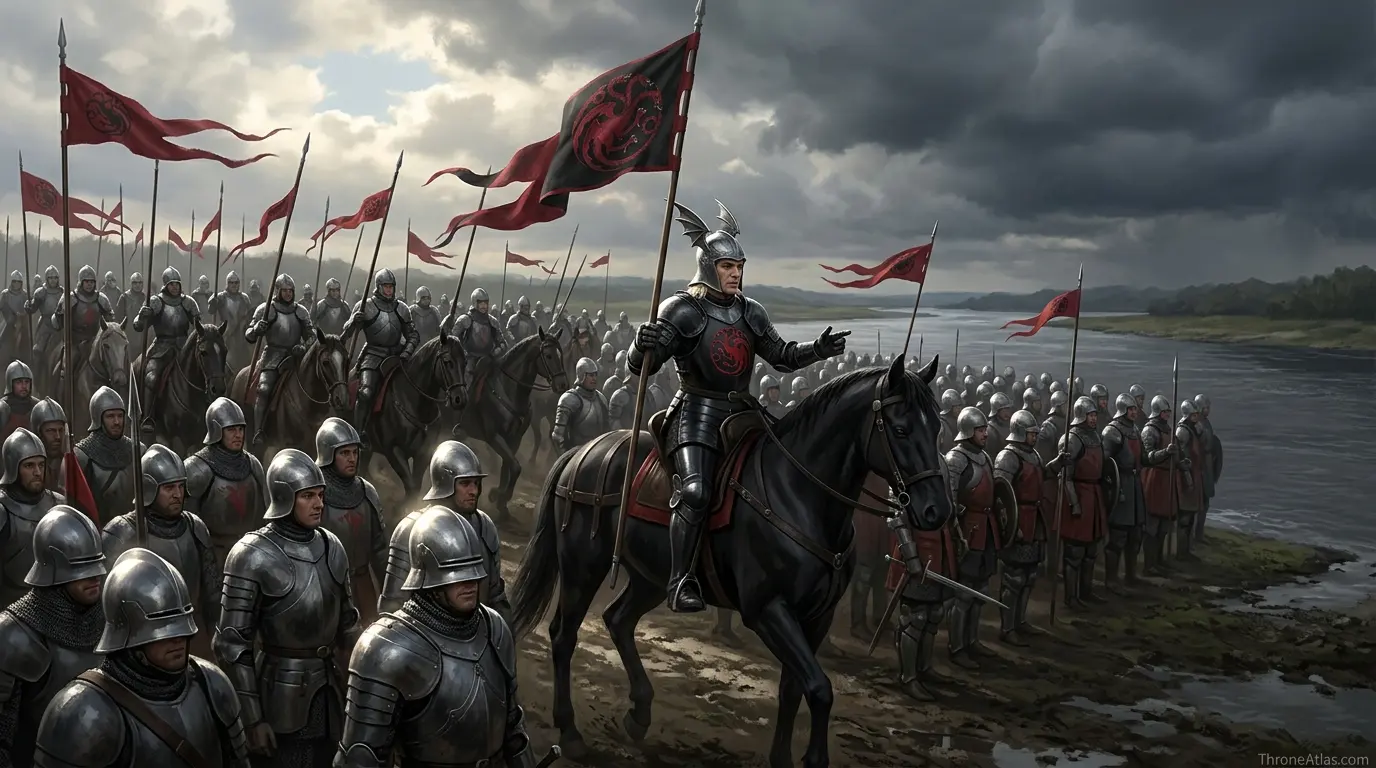
The crown’s force carries dynasty legitimacy but arrives late in the war’s emotional logic.
The lines meet around the crossing and convert river control into crown control.
The personal duel gives the battle its symbolic final shape.
Victory opens the road toward the fall of the capital.
Complete Battle of the Trident Map Guide
A thin map page only lists names. A strong ThroneAtlas page explains how places create pressure, change decisions and connect to the wider atlas. This guide is built to help readers follow the route, understand the stakes at each stop, and continue into connected maps without losing context.
Ruby Ford as the correct map center
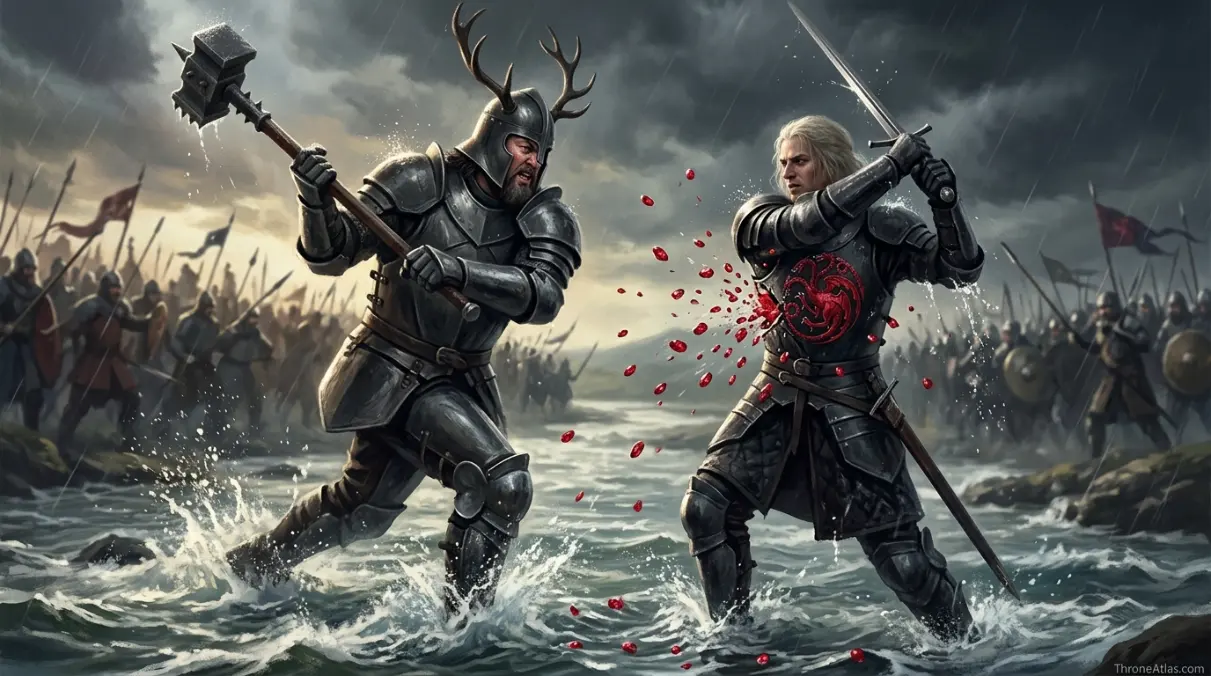
The Battle of the Trident belongs at Ruby Ford because the ford is where the war becomes physically narrow. Armies can maneuver across regions, but a crossing forces them into commitment. Whoever controls the passage controls not just ground, but momentum.
The Trident is also symbolic terrain. It sits between the rebel coalition’s route and the royal army’s attempt to stop it. When Robert and Rhaegar meet there, the river becomes a boundary between two futures: continued Targaryen rule or a Baratheon monarchy built from rebellion.
A thin page says Robert killed Rhaegar. A strong battlefield map explains why a river crossing made that duel the public meaning of the whole war.
Robert, Rhaegar and battlefield symbolism
Robert and Rhaegar’s duel matters because it compresses huge political causes into one visible clash. Robert carries grievance, rebellion and Baratheon force. Rhaegar carries prophecy, royal legitimacy and the last charismatic hope of the dynasty. The map lets armies decide, but the duel gives singers and histories a single image to remember.
The rubies from Rhaegar’s armor give Ruby Ford its lasting visual identity. That detail is why the location remains searchable: fans are not only asking where the battle happened; they are asking why that place became mythic.
This section should connect to Robert’s Rebellion Map, House Baratheon, House Targaryen, Riverlands Map and Tower of Joy pages.
Why the Trident opens the road to King’s Landing
After the royalist defeat, King’s Landing becomes exposed. The battle does not physically happen inside the capital, but it determines the capital’s fate by removing the field army and killing the prince who could have held loyalty together.
This is the difference between battlefield geography and political geography. Ruby Ford is the tactical location. King’s Landing is the strategic consequence. The map must show both, because searchers who understand one will want the other.
A complete Battle of the Trident map should therefore include approach roads, river barrier, ford, army lines, duel point and aftermath route.

How the battle changes Westeros memory
The Battle of the Trident becomes the clean heroic memory of Robert’s Rebellion even though the war’s causes are more complicated. It gives Robert a victorious image and gives Targaryen collapse a public wound. That is why the battle remains central in lore discussions.
For ThroneAtlas, this page can support several clusters: Robert’s Rebellion, Targaryen fall, Baratheon rise, Riverlands war geography and famous duels. It should be written for both casual viewers and readers who want the war’s route structure.
The final map lesson is simple: when a dynasty loses the crossing, it often loses the story told about the crossing too.
Detailed map reading for Battle of the Trident Map
The quick route above gives the order, but the real value of this page is the cause-and-consequence logic between map points. A normal recap tells you what happened. A ThroneAtlas map explains why the location made that outcome possible, why the next route opened, and why some choices became almost impossible once characters entered the wrong room, road, crossing or battlefield.
For Battle of the Trident Map, each stop should be read as a pressure point. Roads control timing, castles control access, rivers control movement, halls control sightlines, islands control isolation, and sacred places control memory. That is why this page is structured as an atlas guide instead of a thin summary.
1. Riverlands Approach — Campaign convergence
Rebel and royalist forces move toward the river system where the war must be decided. In map terms, this point belongs to Riverlands, but its function is larger than place-labeling. It changes leverage, visibility, safety or legitimacy. From here the reader naturally moves toward The Trident, carrying the previous consequence forward instead of treating the event as a disconnected scene.
2. The Trident — River barrier
The river turns movement into confrontation and limits easy escape. In map terms, this point belongs to Riverlands, but its function is larger than place-labeling. It changes leverage, visibility, safety or legitimacy. From here the reader naturally moves toward Ruby Ford, carrying the previous consequence forward instead of treating the event as a disconnected scene.
3. Ruby Ford — Main crossing
The ford becomes the focal point where armies and claims collide. In map terms, this point belongs to Trident, but its function is larger than place-labeling. It changes leverage, visibility, safety or legitimacy. From here the reader naturally moves toward Rebel Line, carrying the previous consequence forward instead of treating the event as a disconnected scene.
4. Rebel Line — Robert’s force
The rebel coalition brings Stormlands, Vale, North and Riverlands pressure together. In map terms, this point belongs to Battlefield, but its function is larger than place-labeling. It changes leverage, visibility, safety or legitimacy. From here the reader naturally moves toward Royalist Line, carrying the previous consequence forward instead of treating the event as a disconnected scene.
5. Royalist Line — Rhaegar’s force
The crown’s force carries dynasty legitimacy but arrives late in the war’s emotional logic. In map terms, this point belongs to Battlefield, but its function is larger than place-labeling. It changes leverage, visibility, safety or legitimacy. From here the reader naturally moves toward Central Clash, carrying the previous consequence forward instead of treating the event as a disconnected scene.
6. Central Clash — Battle pressure
The lines meet around the crossing and convert river control into crown control. In map terms, this point belongs to Ruby Ford, but its function is larger than place-labeling. It changes leverage, visibility, safety or legitimacy. From here the reader naturally moves toward Robert vs Rhaegar, carrying the previous consequence forward instead of treating the event as a disconnected scene.
7. Robert vs Rhaegar — Duel point
The personal duel gives the battle its symbolic final shape. In map terms, this point belongs to Battlefield center, but its function is larger than place-labeling. It changes leverage, visibility, safety or legitimacy. From here the reader naturally moves toward King’s Landing Route, carrying the previous consequence forward instead of treating the event as a disconnected scene.
8. King’s Landing Route — Capital aftershock
Victory opens the road toward the fall of the capital. In map terms, this point belongs to Crownlands road, but its function is larger than place-labeling. It changes leverage, visibility, safety or legitimacy. From here the reader naturally moves toward Riverlands Approach, carrying the previous consequence forward instead of treating the event as a disconnected scene.
Why this page is built for search intent
People searching for Battle of the Trident Map usually want a fast answer first: the main location, the correct order, the central turning point and the final consequence. After that, they want context that a short wiki paragraph cannot provide. This page supports both needs with a quick answer, fact cards, route schematic, location cards, deep explanations, table and FAQ.
The stronger SEO angle is topical completeness rather than repetition. The content uses natural entity coverage: region names, castles, houses, battles, characters, terrain and route logic. That helps the page work as a map hub and not just an isolated article.
How to use this Battle of the Trident Map on ThroneAtlas
Use this page as the orientation layer before opening the deeper location pages. Start with the quick answer to confirm the place, then use the route schematic to understand order, then scan the table if you only need the map role of each point. If you are building a full reading path, follow the related links into the houses, regional maps and battle or lore pages connected to this event.
The page is intentionally written for map-first readers. That means it avoids treating geography as decoration. Every location is included because it changes the balance of power, the available route, the safety of a character, the meaning of a battle, or the historical memory of Westeros. This is the difference between a normal recap and a useful atlas entry.
For best internal SEO, publish this page with a short URL, descriptive image alt text, one H1, and related links using exact but natural anchors such as “Battle of the Trident Map,” “Riverlands map,” “King’s Landing map,” “Dragonstone map,” “House Targaryen map,” or the specific battle/location phrase that matches the page topic.
Topical authority notes for Battle of the Trident Map
The page is also designed to answer the follow-up questions readers usually ask after the first map answer. They want to know how the event connects to nearby regions, which houses gain or lose power, which characters move because of the event, and which later routes are changed by the outcome. For Battle of the Trident Map, that means the map should not stop at Riverlands Approach or King’s Landing Route. It should show how the consequence travels through surrounding castles, roads, rivers, courts, islands or sacred places.
This is especially important for ThroneAtlas because map pages work best as clusters. A reader who lands on this page should be able to continue naturally into a regional guide, a house guide, a battle guide, a character route or a lore explanation. That internal path increases usefulness for humans and gives search engines clearer entity relationships around Westeros geography.
The content also avoids the common thin-page mistake of repeating the title in every sentence. Instead, it uses supporting entities: the relevant kingdom, controlling house, nearby castle, route pressure, battlefield condition, political consequence and memory layer. These supporting terms make the page feel complete without sounding forced.
For final publication, keep the hero image near the top, retain the round compass card, and do not remove the boxed quick answer. That combination gives the page the same visual identity as the master Westeros page while still allowing each event or lore location to have its own voice. The design rhythm should feel familiar across the site, but the analysis should feel unique to the map.
If this page is being used for programmatic publishing, pair it with two to four exact internal links in the first half of the article and several broader atlas links near the end. The safest anchor style is descriptive rather than generic: “Battle of the Trident Map route,” “Riverlands Approach location,” “King’s Landing Route consequence,” and the specific region or house name. That keeps the page helpful and prevents the internal link block from feeling pasted on.
Before publishing, compare the page against the surrounding cluster and make sure the opening answer, the first image alt text, the first two H2s, and the related-link anchors all reinforce the same search intent. That final pass is what makes the page feel handcrafted rather than generated in bulk. For Battle of the Trident Map, the reader should leave with a clear route, a clear consequence, and a clear next page to open.
Location order and story function
The table below condenses the event into a scanner-friendly format for readers who want quick orientation before moving into related maps.
| Location | Map role | Region / route | Story function |
|---|---|---|---|
| Riverlands Approach | Campaign convergence | Riverlands | Rebel and royalist forces move toward the river system where the war must be decided. |
| The Trident | River barrier | Riverlands | The river turns movement into confrontation and limits easy escape. |
| Ruby Ford | Main crossing | Trident | The ford becomes the focal point where armies and claims collide. |
| Rebel Line | Robert’s force | Battlefield | The rebel coalition brings Stormlands, Vale, North and Riverlands pressure together. |
| Royalist Line | Rhaegar’s force | Battlefield | The crown’s force carries dynasty legitimacy but arrives late in the war’s emotional logic. |
| Central Clash | Battle pressure | Ruby Ford | The lines meet around the crossing and convert river control into crown control. |
| Robert vs Rhaegar | Duel point | Battlefield center | The personal duel gives the battle its symbolic final shape. |
| King’s Landing Route | Capital aftershock | Crownlands road | Victory opens the road toward the fall of the capital. |
Battle of the Trident Map Questions
It is fought at Ruby Ford on the Trident in the Riverlands.
Robert Baratheon’s rebel coalition fights Prince Rhaegar Targaryen’s royalist army.
Robert Baratheon wins, and Rhaegar Targaryen is killed.
The name is tied to the rubies from Rhaegar’s armor scattering in the river after his death.
It breaks Targaryen military hope and opens the way toward the fall of King’s Landing.
Related maps, houses, battles and lore routes
ThroneAtlas is an independent fan-made atlas. Game of Thrones, House of the Dragon and related names belong to their respective rights holders. This page is for educational, lore-navigation and fan-reference purposes.