Battle of Castle Black MapNight’s Watch, Wildlings & the Wall Defense
The Wall / Castle Black · Fortress defense and two-sided assault
Battle of Castle Black map — A Wall-defense atlas following the southern gate, top-of-Wall fighting, tunnel pressure, and Stannis’s arrival.
The Battle of Castle Black was fought at the Wall when the Night’s Watch defended its main stronghold against wildling forces attacking from both sides. The map matters because Castle Black is not a normal castle: it has no southern wall, depends on the Wall itself, and must defend a tunnel, courtyard, and top-of-Wall position at the same time.
Page Index
Battle of Castle Black Map at a Glance
Key map details before the full battlefield breakdown.
Battlefield Overview
The Battle of Castle Black map is best read as a battlefield atlas rather than a flat location label. The Battle of Castle Black was fought at the Wall when the Night’s Watch defended its main stronghold against wildling forces attacking from both sides. The map matters because Castle Black is not a normal castle: it has no southern wall, depends on the Wall itself, and must defend a tunnel, courtyard, and top-of-Wall position at the same time. That means the important question is not only where the fight happened, but how the surrounding land, roads, gates, rivers, camps, woods, or open ground shaped what each side could do.
Castle Black’s geography makes the battle unique. Most Westerosi battles are about castles, roads, rivers, or open fields. This one is about vertical ice, a single tunnel, limited manpower, and a defensive institution that has decayed while the threat beyond the Wall has grown. This is why the page ties the event to nearby castles, house territory, campaign movement, and the later political result. A battle that looks simple in a summary often becomes much richer once the map shows approach routes, retreat lines, defensive limits, and who controlled the nearby power centers.
The clearest reading angle for this page is the relationship between ice Wall, tunnel gate, courtyard, northern approaches, haunted forest routes, and vertical defensive space. Terrain in Westeros is never only scenery. It limits marching speed, reveals or hides movement, concentrates forces into crossings and gates, exposes armies to dragons, or makes a small party more important than a large host.
Visual Map Guide
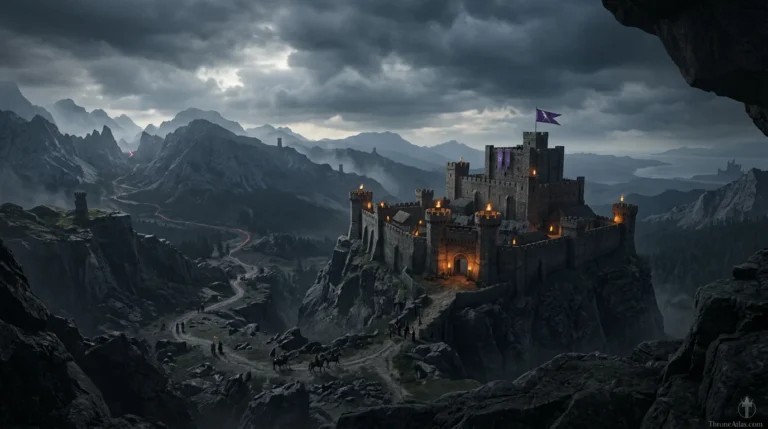
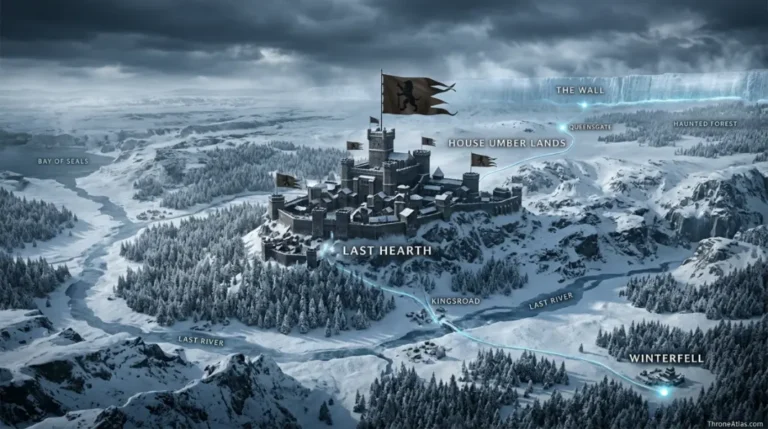
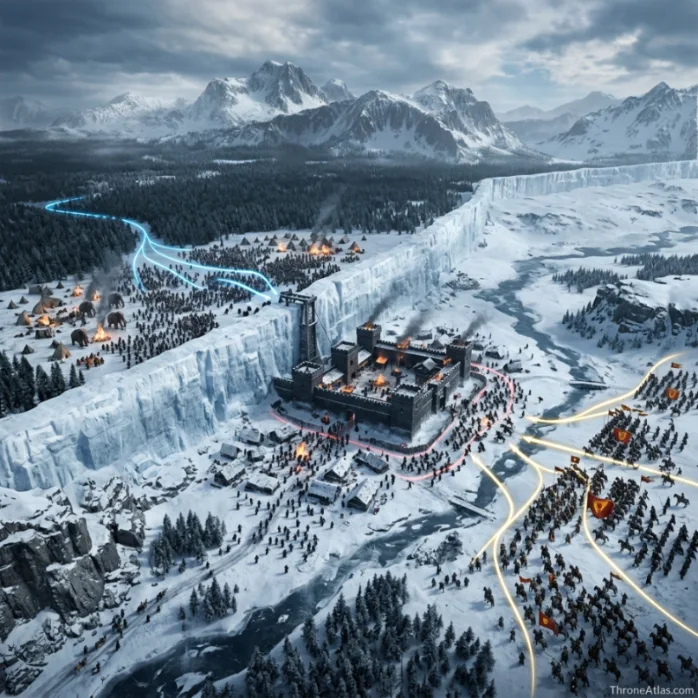
The visual guide should help readers understand the battle before they read the full chronology. A strong Battle of Castle Black map image should show the surrounding region, the main approach route, and the pressure point where the event turns. The image does not need to crowd every detail onto the canvas; it should make the decisive geography readable in seconds.
For this battle, the three visual layers are orientation, movement, and aftermath. Orientation answers where the battle belongs in Westeros. Movement shows how the forces arrived and why one side gained advantage. Aftermath shows how the result affected nearby castles, capitals, houses, roads, and future decisions.
Route Logic and Military Movement
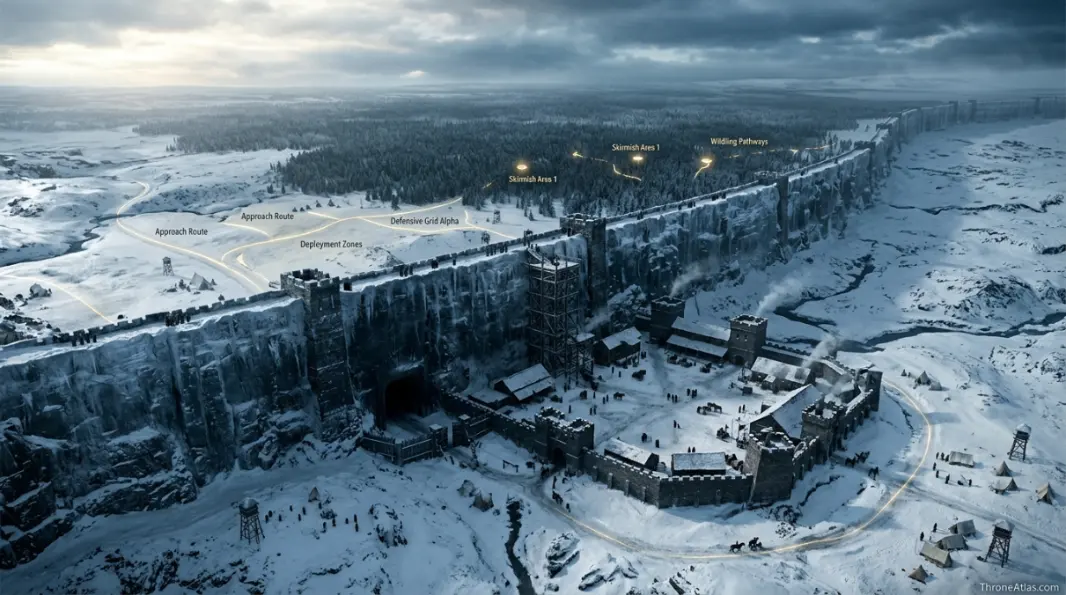
The battle links wildling movement through the Haunted Forest, raiding pressure south of the Wall, the tunnel under the Wall, and Stannis’s sudden northern arrival. A good map must show the two-sided pressure on Castle Black rather than a single frontal attack. A battle map becomes useful when it explains pressure. Pressure may come from a road, a gate, a river crossing, a siege camp, a hidden forest path, an open field, or a capital street. The best way to read this event is to follow the route before judging the result.
- Haunted Forest-to-Wall wildling route gathering the Free Folk host.
- South-of-Wall raider route putting Castle Black under pressure from behind.
- Tunnel defense route where the Wall’s passage becomes the battle’s heart.
- Dragonstone-to-North Stannis route ending with a sudden cavalry arrival beyond the Wall.
These routes also explain why the battle should be connected to the wider ThroneAtlas network. The event does not stand alone; it touches the campaign route, the nearby location pages, and the house pages that explain why each side is willing to take risks. Readers moving from this page to the connected atlas pages can follow the war as geography rather than a disconnected list of scenes.
Battle Sequence and Turning Points
The sequence below breaks the event into clear map phases. Each phase shows a change in position, confidence, access, or battlefield control. This format is useful because many battles in Westeros are remembered by one famous moment, while the map tells a longer story of setup, pressure, turning point, and consequence.
| Battle order | What happens on the map |
|---|---|
| Phase 1 | Mance Rayder gathers Free Folk forces beyond the Wall, creating pressure that Castle Black cannot ignore. |
| Phase 2 | A smaller wildling group attacks from the south, exploiting Castle Black’s lack of a proper southern wall. |
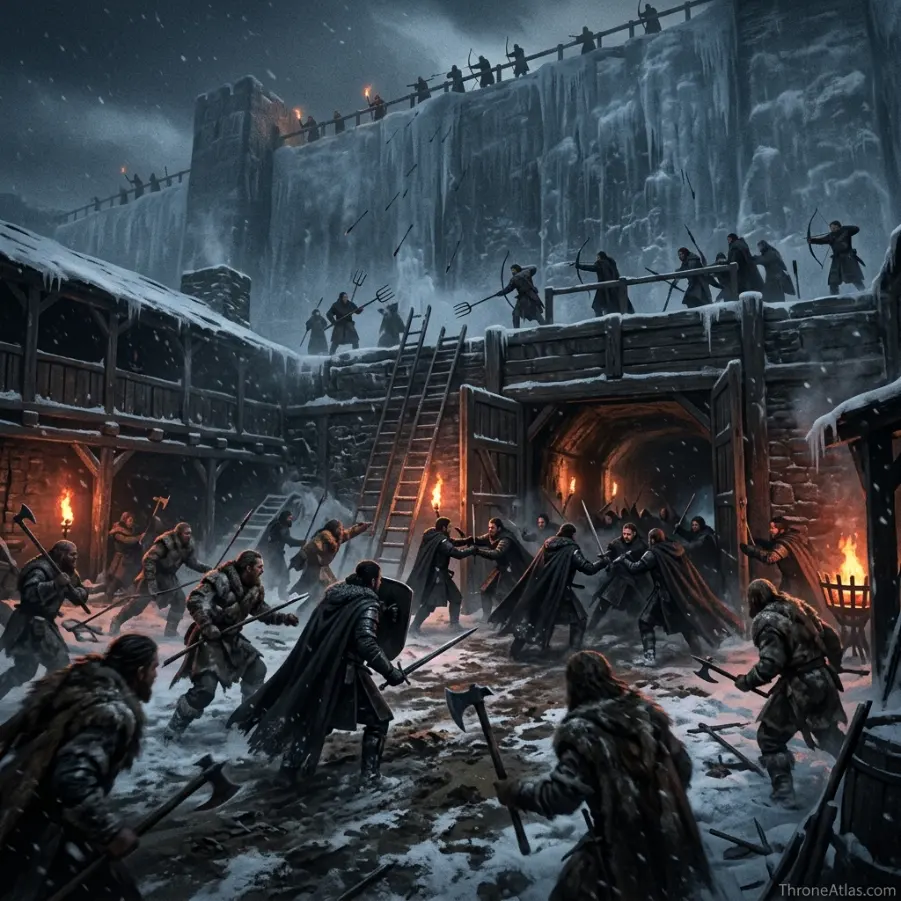
| Phase 3 | Night’s Watch defenders fight in the courtyard, on stairs, in rooms, and along the top of the Wall. |
| Phase 4 | The tunnel under the Wall becomes a decisive choke point where the defense must hold. |
| Phase 5 | Jon Snow’s leadership rises during the battle, even as the Watch suffers heavy losses. |
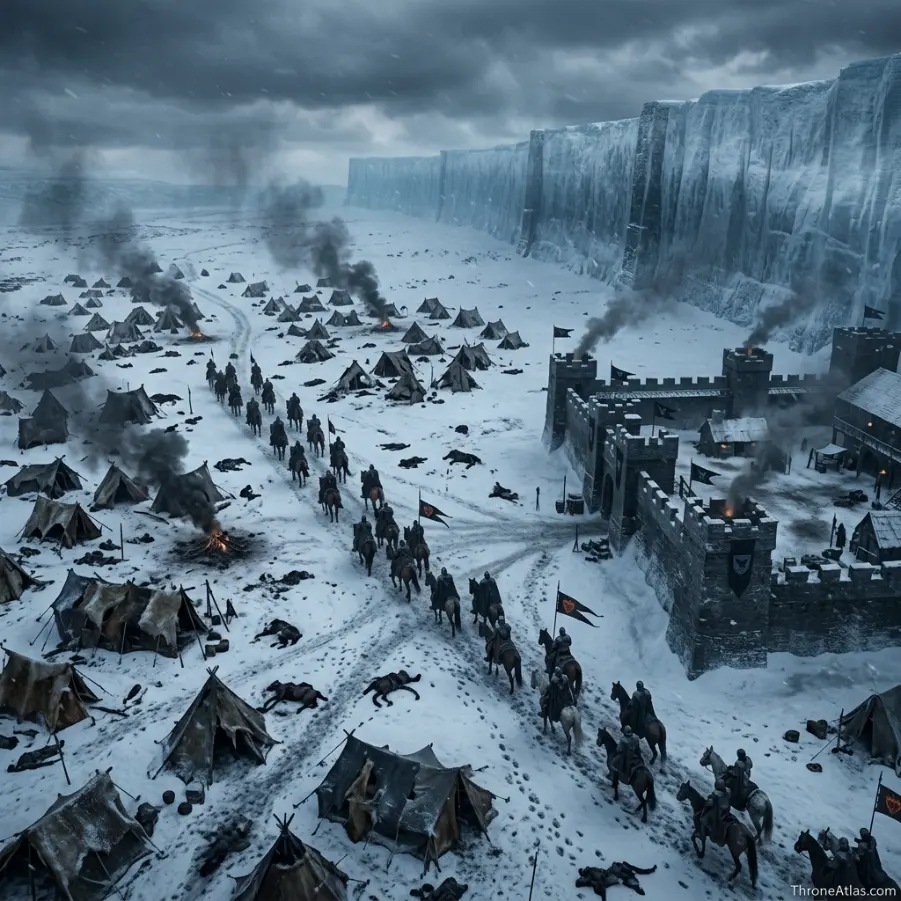
| Phase 6 | Stannis Baratheon arrives north of the Wall and breaks the larger wildling encampment, changing the political map of the far north. |
Notice that the turning point is rarely a random act. It usually comes when one side misreads the terrain, overextends along a route, trusts a defensive feature too much, fails to protect a flank, or underestimates how quickly the enemy can arrive. In this battle, the map itself helps explain why the outcome feels inevitable after the decisive movement begins.
Commanders and Key Figures
The main figures connected to this page are Jon Snow, Mance Rayder, Tormund Giantsbane, Alliser Thorne, Stannis Baratheon. Each figure matters because a battle map is also a decision map. Commanders choose where to stand, when to advance, whether to trust walls, when to retreat, which road to protect, and which risk to accept. Even characters who are not supreme commanders can define the memory of the event if their action becomes the moral or political center of the aftermath.
Jon Snow
Jon Snow matters to the Battle of Castle Black map because the person’s decision, position, movement, or symbolic role changes how the battle should be read on the map. This connection turns the event from a loose fight into a clear atlas entry.
Mance Rayder
Mance Rayder matters to the Battle of Castle Black map because the person’s decision, position, movement, or symbolic role changes how the battle should be read on the map. This connection turns the event from a loose fight into a clear atlas entry.
Tormund Giantsbane
Tormund Giantsbane matters to the Battle of Castle Black map because the person’s decision, position, movement, or symbolic role changes how the battle should be read on the map. This connection turns the event from a loose fight into a clear atlas entry.
Alliser Thorne
Alliser Thorne matters to the Battle of Castle Black map because the person’s decision, position, movement, or symbolic role changes how the battle should be read on the map. This connection turns the event from a loose fight into a clear atlas entry.
Stannis Baratheon
Stannis Baratheon matters to the Battle of Castle Black map because the person’s decision, position, movement, or symbolic role changes how the battle should be read on the map. This connection turns the event from a loose fight into a clear atlas entry.
Houses, Claims, and Political Stakes
The houses most connected to this event are Night’s Watch, Free Folk, House Baratheon, House Stark, House Thorne. Their presence turns the battle into more than a tactical incident. The result can destroy a line, change a lord’s loyalty, create a prisoner, expose a capital, strengthen a claimant, or leave a stain that later generations still remember.
House geography matters because noble power in Westeros is territorial. A victory near a castle can free or threaten an entire region. A defeat on a road can starve a city or ruin a campaign. A secret fight at a remote tower can change succession. A city sack can redefine legitimacy. This is the reason ThroneAtlas treats house links as part of the map rather than a separate footnote.
Night’s Watch
Night’s Watch is part of the wider political layer behind this battlefield. The house connection explains why the result affects claims, loyalty, punishment, succession, or regional authority beyond the immediate ground.
Free Folk
Free Folk is part of the wider political layer behind this battlefield. The house connection explains why the result affects claims, loyalty, punishment, succession, or regional authority beyond the immediate ground.
House Baratheon
House Baratheon is part of the wider political layer behind this battlefield. The house connection explains why the result affects claims, loyalty, punishment, succession, or regional authority beyond the immediate ground.
House Stark
House Stark is part of the wider political layer behind this battlefield. The house connection explains why the result affects claims, loyalty, punishment, succession, or regional authority beyond the immediate ground.
House Thorne
House Thorne is part of the wider political layer behind this battlefield. The house connection explains why the result affects claims, loyalty, punishment, succession, or regional authority beyond the immediate ground.
Aftermath and Wider Consequences
The outcome of this event is Night’s Watch holds Castle Black; Stannis Baratheon breaks the wildling army north of the Wall. The immediate battlefield result is only the first layer. The wider consequence is how news of the result travels, how neighboring houses react, how prisoners or survivors are used, and how the next route on the campaign map becomes possible.
Some battles create a new ruler. Some create a ruin. Some rescue a claimant. Some expose the weakness of a castle, a road, a city, or a military tradition. Some seem small in troop numbers but enormous in story meaning. This page belongs to the atlas because it explains exactly which kind of consequence the battle creates and where that consequence moves next.
The surrounding ThroneAtlas pages help complete that reading. A reader can move from this battle to the campaign overview, then to the nearby castle, then to the house map, then to the character journey that carries the result forward. That chain is the difference between memorizing lore and understanding the map.
Book and Show Map Notes
Some battle events are shown directly on screen, while others are described through history, dialogue, companion material, or the remembered political record. The important atlas task is to separate what the viewer sees from what the map implies. A scene may show a small part of the battlefield, but the event often depends on roads, nearby castles, region boundaries, and earlier movement that happen outside the frame.
For book readers, the event may carry more tactical ambiguity, more house detail, or a broader campaign context. For show viewers, the event may be remembered through a few striking images. This page brings both readings together by focusing on stable geographic logic: where the forces come from, what they need, what terrain allows, and what changes after the fight.
Common Map Mistakes
The most common mistakes happen when readers remember the famous moment but forget the geography around it. The points below help keep the battle accurate when building a map, writing captions, adding image labels, or linking this page into the wider atlas.
- Drawing Castle Black like a normal four-walled castle, when its weakness is the open south side.
- Forgetting the tunnel, even though the tunnel is the most important choke point.
- Showing only Mance’s northern host and ignoring the southern raiding party that makes the battle dangerous inside the castle.
A reliable battle map should make these mistakes harder to repeat. It should show route context, terrain pressure, nearby locations, and political aftermath in one readable structure. That is what turns a fan map into a useful atlas page.
Cartographer Reading Notes
The strongest way to read this event is to begin with the map before returning to the famous moment. First identify the approach line: which road, river, gate, pass, coast, forest, camp, or city district brings the forces together? Next identify the pressure point: where does the event become impossible to reverse? Finally identify the exit route: where do survivors, prisoners, armies, ravens, rumors, or political consequences move after the fight?
That three-part reading keeps the page useful even for readers who already know the story. A familiar battle can feel new when its geography is placed in order. The approach line explains preparation. The pressure point explains the turning moment. The exit route explains consequence. Without those layers, the map becomes only decorative; with them, the map becomes a clear explanation of why the battle belongs exactly where it does.
For Battle of Castle Black map, the terrain detail that deserves the most attention is ice Wall, tunnel gate, courtyard, northern approaches, haunted forest routes, and vertical defensive space. That terrain decides what kind of strength matters. Heavy infantry, cavalry, dragons, stealth, walls, ships, townspeople, river camps, or hidden roads do not perform equally in every place. Westeros rewards the commander who understands the ground and punishes the one who brings the wrong confidence to the wrong map.
Nearby Location Anchors
Every battle page should have anchors around it: the nearest castle, the nearest political center, the route that leads into the scene, and the route that carries the result away. Those anchors help readers avoid treating the event as isolated. In most cases, the battle’s meaning becomes clearer only after checking the connected location page, the ruling house map, and the campaign overview.
The linked pages around this guide are not decorative. They are the next steps in the atlas path. The nearby castle explains local power. The campaign map explains timing. The house map explains why the fight matters politically. The character route explains how individual decisions travel through the story. Together, those pages create a cleaner reading of the war than a single standalone entry can provide.
When this page is published with final page images, the best visual set should include one wide regional map, one closer tactical diagram, one image that shows the surrounding terrain mood, and one image that points readers toward the next connected location. That gives the article both atmosphere and clarity without overwhelming the reader with repeated scenery.
For navigation, this page also works as a bridge between three reader paths. A lore reader can follow the cause and consequence of the event. A map reader can follow the route, road, gate, river, or field. A house reader can follow how the result changes loyalty and regional power. Keeping those paths visible makes the article stronger than a narrow retelling because every section has a clear job: location, movement, decision, result, and next reading step.
The final test for a battle map is simple: after reading it, a visitor should be able to explain where the event happened, why that ground mattered, which side used the map better, and which page to open next. If those four answers are clear, the page is doing real atlas work.
This also keeps the map honest. A battle page should not exaggerate a location, hide uncertainty, or turn every movement into a dramatic shortcut. It should show what can be known from the story record, what can be inferred from nearby geography, and what should be left as careful interpretation.
That balance is the standard used across this battle cluster.
It also protects the reader experience. Instead of forcing a single answer where the source material leaves room for geography-based judgement, the page separates firm map anchors from careful reading notes. The result is stronger, clearer, and more useful for anyone comparing battles across the wider atlas.
Follow the Wider War Map
Use these related maps to move from the battlefield into the campaign, house territories, nearby locations, and character journeys.
Core Atlas Hubs
Houses and Routes
Battle of Castle Black Map Questions
Clear answers to common reader questions about the location, route, forces, and outcome.
The Battle of Castle Black map belongs to The Wall / Castle Black. The exact reading depends on the surrounding roads, castles, rivers, or open ground that shape the event.
Castle Black’s geography makes the battle unique. Most Westerosi battles are about castles, roads, rivers, or open fields. This one is about vertical ice, a single tunnel, limited manpower, and a defensive institution that has decayed while the threat beyond the Wall has grown.
The main commanders and key figures include Jon Snow, Mance Rayder, Tormund Giantsbane, Alliser Thorne, Stannis Baratheon.
Night’s Watch holds Castle Black; Stannis Baratheon breaks the wildling army north of the Wall.
The battle is shaped by ice Wall, tunnel gate, courtyard, northern approaches, haunted forest routes, and vertical defensive space.
Read the connected ThroneAtlas pages listed in the Related Atlas Network, especially the campaign map, nearby castle pages, and the major house maps.
Drawing Castle Black like a normal four-walled castle, when its weakness is the open south side.
Explore the Full Westeros War Map
Place this battle beside the wider Westeros map, the campaign hub, and the connected house pages to follow how one event changes roads, castles, loyalties, and claims across the realm.
ThroneAtlas is an independent fan-made atlas resource. It is not affiliated with HBO, Warner Bros., or George R. R. Martin. All names and references are used for commentary, research, and educational fan mapping.