Battle of the Bastards Map Winterfell Field, Jon Snow, Ramsay Bolton, Shield Trap, Vale Knights & Stark Restoration
A tactical route through Ramsay’s bait, Jon’s broken formation, the Bolton encirclement and Sansa’s rescue move
The Battle of the Bastards map is a trap-and-relief battlefield. It shows how Ramsay uses emotion to pull Jon out of formation, how the Bolton line compresses the Stark force, and how Sansa’s hidden Vale alliance changes the result.
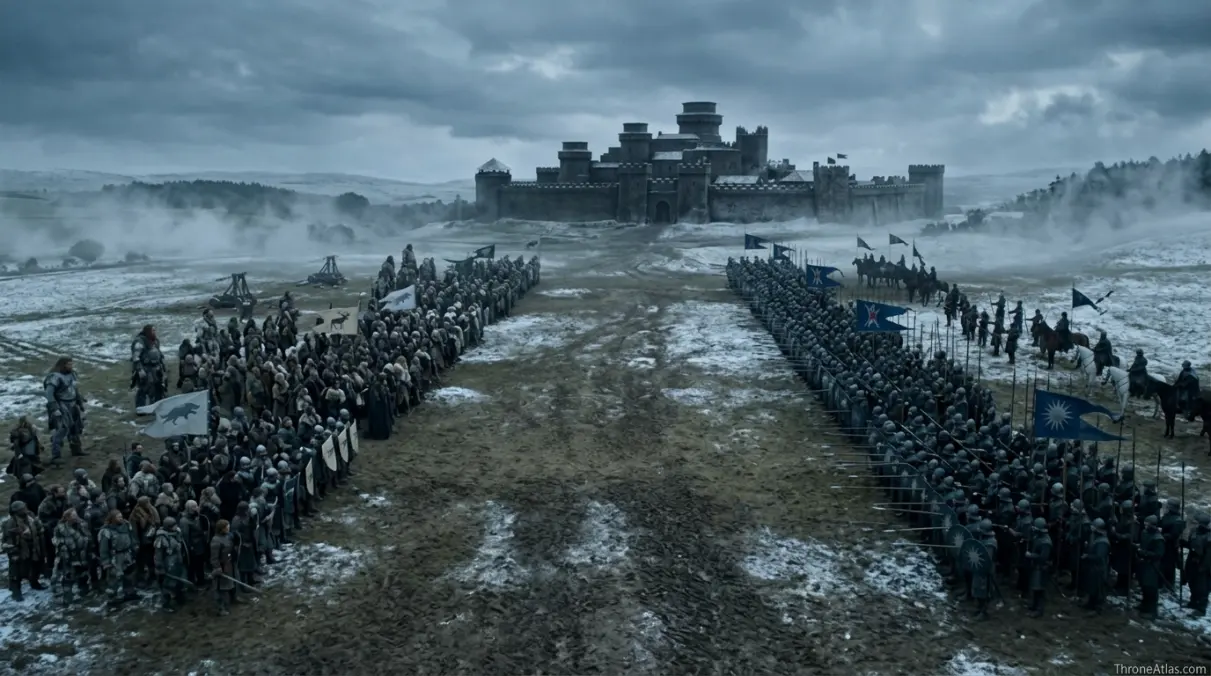
The Battle of the Bastards map is centered on the open field outside Winterfell, where Ramsay Bolton uses Rickon Stark as bait, Jon Snow breaks formation, Stark and wildling forces collide with Bolton troops, a shield encirclement nearly crushes Jon’s army, and the Knights of the Vale arrive through Sansa’s alliance to break the Bolton position. The battle ends at Winterfell itself, where Ramsay is defeated and Stark control of the castle is restored.
What this Battle of the Bastards Map explains
The fast cards below give the two-minute answer before the deeper route, table and FAQ sections.
Main stops on the Battle of the Bastards Map
This simplified route graphic is designed for reading flow, not exact geographic scale. Use it to understand order, pressure and consequence.
Ramsay holds the Stark seat and forces the battle outside its walls.
Ramsay uses Rickon to pull Jon into the battlefield alone and break discipline.
Jon’s emotional response creates a collision before his army can execute a clean plan.
The battle becomes a pile of horses, bodies and broken formations.
Bolton infantry compress Jon’s force into a killing pocket.
The Stark side nearly collapses under bodies, panic and pressure.
The Knights of the Vale strike the Bolton line and reverse the battle.
The battle ends with Ramsay defeated and the Stark banner returning.
Complete Battle of the Bastards Map Guide
A thin map page only lists names. A strong ThroneAtlas page explains how places create pressure, change decisions and connect to the wider atlas. This guide is built to help readers follow the route, understand the stakes at each stop, and continue into connected maps without losing context.
How to read the Battle of the Bastards battlefield
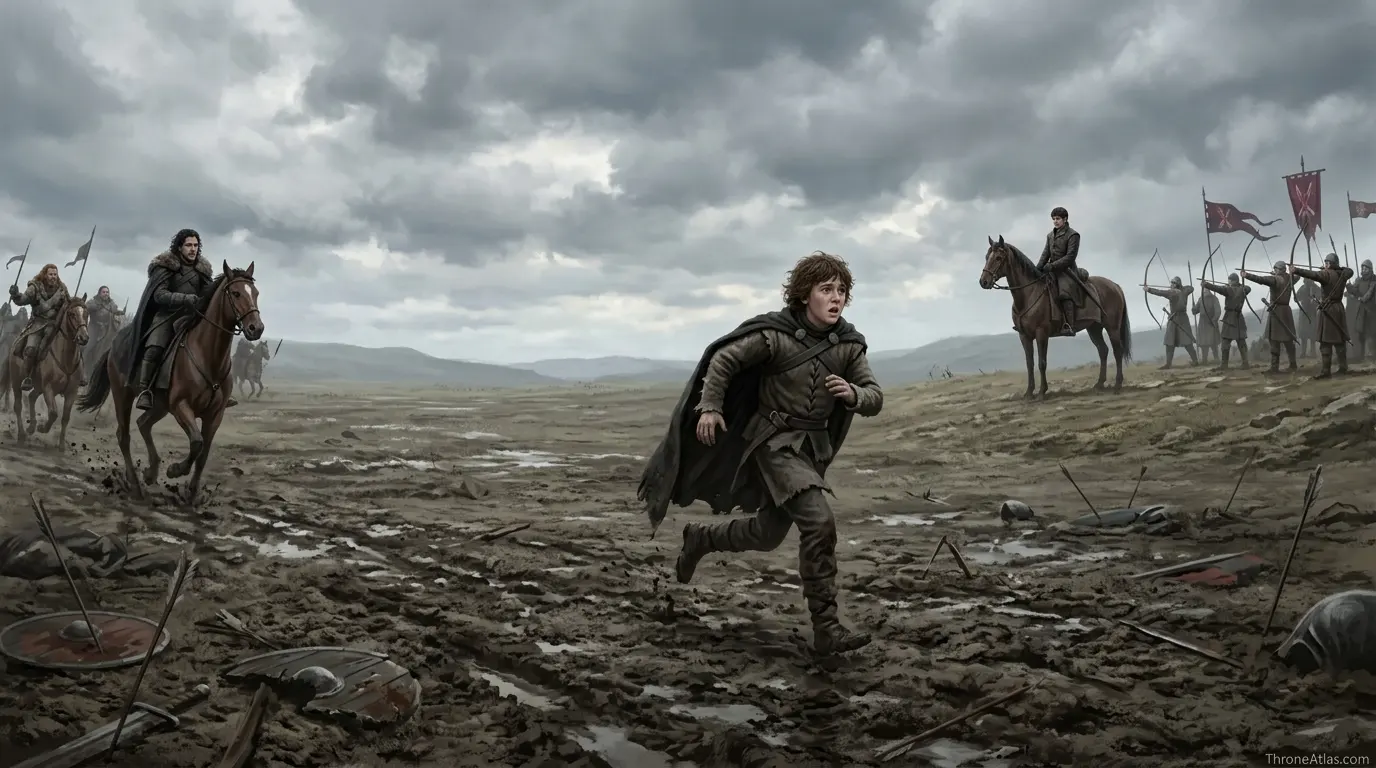
The Battle of the Bastards is best read as a psychological trap drawn onto a field. Ramsay’s goal is not only to defeat Jon tactically. It is to make Jon abandon tactics by attacking his heart. Rickon’s run is the map’s trigger.
Once Jon rides forward, the field changes from planned battle to emotional emergency. The Stark and wildling forces are pulled into a collision where the Bolton army can use discipline, cavalry and shield formations to compress them.
For search intent, the page should answer where the battle happens, how Ramsay’s trap works, why Jon’s force almost loses, when the Vale arrives, and how Winterfell returns to Stark control.
Rickon’s run and Jon’s broken formation
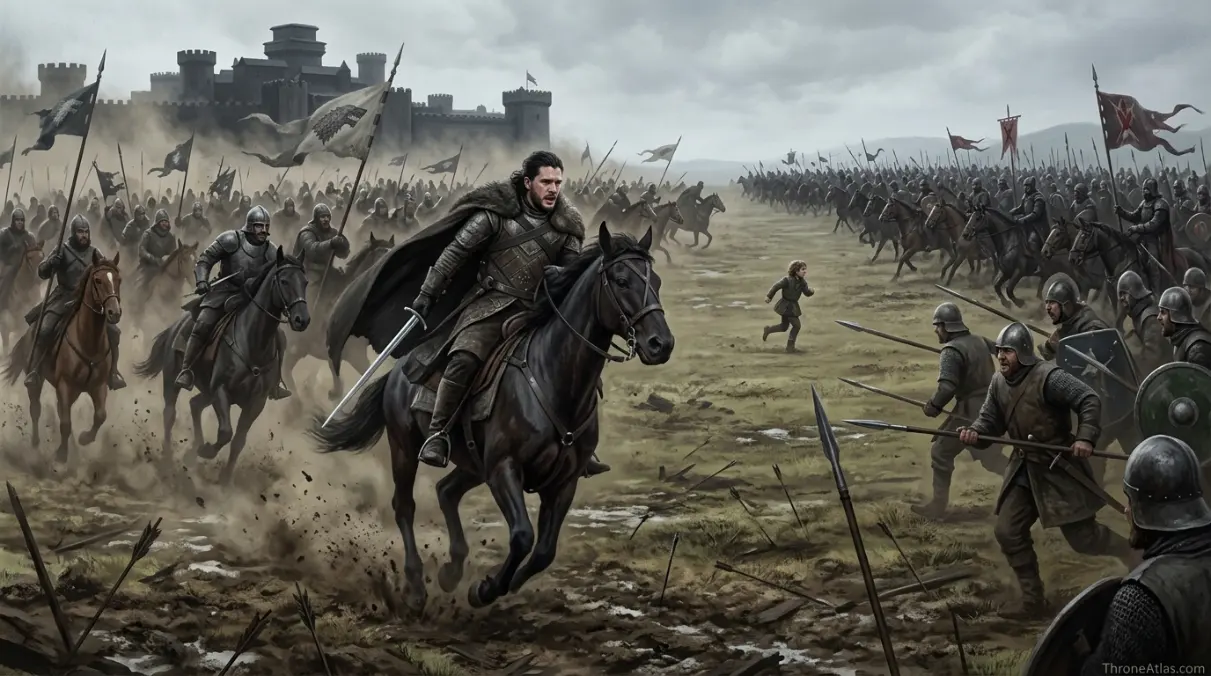
Rickon’s run is one of the clearest examples of emotion changing battlefield geography. Ramsay turns empty ground into a trap corridor. Jon sees his brother, not a formation problem, and charges.
That choice pulls the fight away from preparation. Jon survives only because the rest of the force follows, but the timing is now Ramsay’s. The battlefield becomes a place where personal grief has tactical consequences.
This section should link to Jon Snow Journey Map, House Stark, Ramsay Bolton, Winterfell and Rickon Stark pages if available. It explains character motive and battle outcome together.
Bolton encirclement and the crush
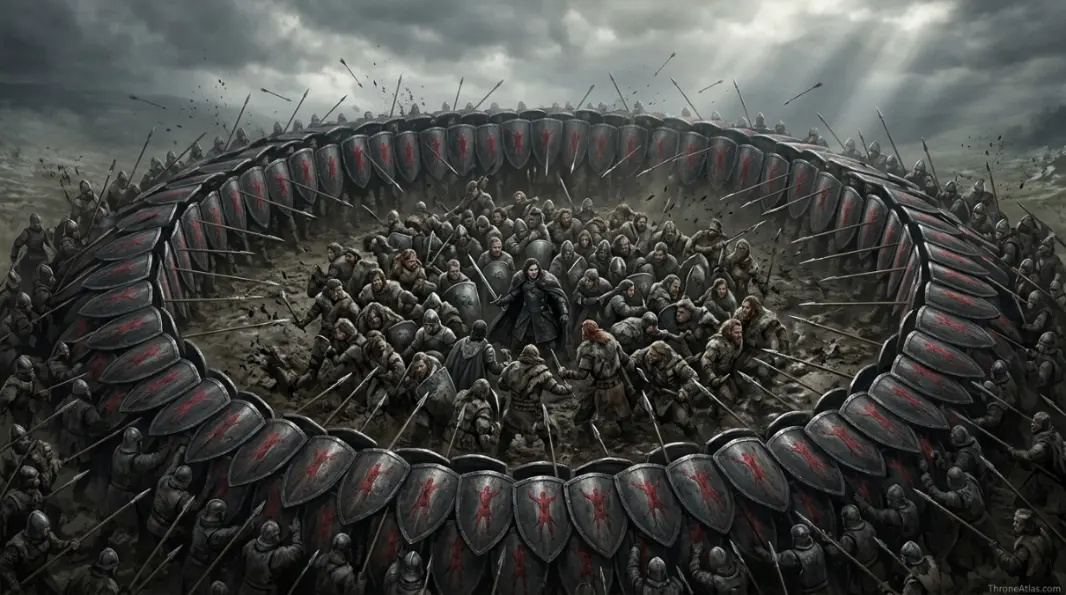
The shield encirclement is the tactical heart of the battle. Ramsay’s forces use discipline and bodies to trap the Stark/wildling army in a shrinking pocket. The map becomes claustrophobic even though the setting is an open field.
This is why the battle feels different from a normal cavalry clash. Space disappears. Bodies become terrain. Jon is nearly buried not by one heroic opponent, but by mass pressure and loss of movement.
A 10/10 battle page should explain this visually: field, collision, pile, shield ring, crush, relief. That sequence helps readers understand the fight beyond screenshots.
Sansa, the Vale and Winterfell restoration
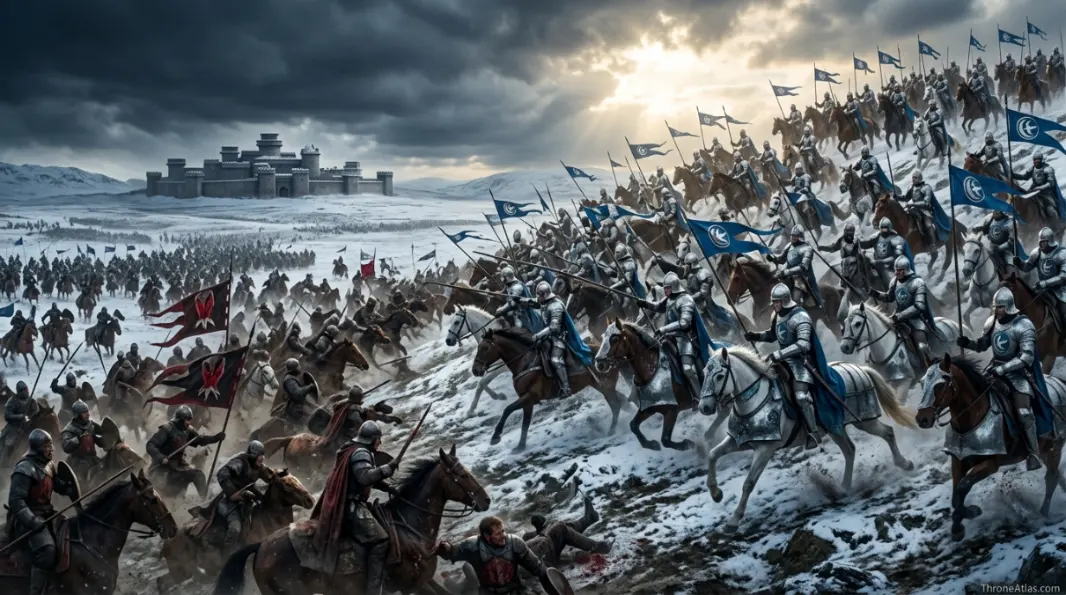
Sansa’s role is geographic as much as political. She understands that Jon’s force is too small and that the wider map contains a hidden solution: the Knights of the Vale. Their arrival turns the battlefield from a Bolton trap into a Stark restoration.
The Vale cavalry matters because it strikes at the moment Ramsay believes the battle is already compressed and controlled. Relief forces are strongest when they hit a line that has overcommitted.
The endpoint is Winterfell because the battle’s purpose is not only survival. It is the return of the Stark seat, the collapse of Bolton northern rule and the reopening of the North’s political map.
Detailed map reading for Battle of the Bastards Map
The quick route above gives the order, but the deeper value of this battle map is in the transition between points. A thin page says what happened; a true ThroneAtlas page explains why a location changes the next decision, danger, alliance, or battlefield condition.
For Battle of the Bastards Map, each stop should be read as a pressure point. The map does not exist only to decorate the story. It reveals distance, leverage, timing, memory, fear, terrain and political consequence. That is what makes the page useful for readers who want more than a recap.
1. Winterfell Gates — Bolton control
Ramsay holds the Stark seat and forces the battle outside its walls. On the atlas, this point belongs to The North. Its job is to change what can happen next: movement becomes harder, trust becomes weaker, defense becomes narrower, or a hidden truth becomes impossible to contain. From this stop, the page naturally moves toward Rickon’s Run, carrying the consequence forward instead of treating the event as isolated.
2. Rickon’s Run — Emotional bait
Ramsay uses Rickon to pull Jon into the battlefield alone and break discipline. On the atlas, this point belongs to Open field. Its job is to change what can happen next: movement becomes harder, trust becomes weaker, defense becomes narrower, or a hidden truth becomes impossible to contain. From this stop, the page naturally moves toward Jon’s Charge, carrying the consequence forward instead of treating the event as isolated.
3. Jon’s Charge — Formation break
Jon’s emotional response creates a collision before his army can execute a clean plan. On the atlas, this point belongs to Open field. Its job is to change what can happen next: movement becomes harder, trust becomes weaker, defense becomes narrower, or a hidden truth becomes impossible to contain. From this stop, the page naturally moves toward Cavalry Collision, carrying the consequence forward instead of treating the event as isolated.
4. Cavalry Collision — Chaos line
The battle becomes a pile of horses, bodies and broken formations. On the atlas, this point belongs to Battlefield center. Its job is to change what can happen next: movement becomes harder, trust becomes weaker, defense becomes narrower, or a hidden truth becomes impossible to contain. From this stop, the page naturally moves toward Bolton Shield Wall, carrying the consequence forward instead of treating the event as isolated.
5. Bolton Shield Wall — Encirclement
Bolton infantry compress Jon’s force into a killing pocket. On the atlas, this point belongs to Battlefield center. Its job is to change what can happen next: movement becomes harder, trust becomes weaker, defense becomes narrower, or a hidden truth becomes impossible to contain. From this stop, the page naturally moves toward Wildling Crush, carrying the consequence forward instead of treating the event as isolated.
6. Wildling Crush — Survival pocket
The Stark side nearly collapses under bodies, panic and pressure. On the atlas, this point belongs to Battlefield center. Its job is to change what can happen next: movement becomes harder, trust becomes weaker, defense becomes narrower, or a hidden truth becomes impossible to contain. From this stop, the page naturally moves toward Vale Arrival, carrying the consequence forward instead of treating the event as isolated.
7. Vale Arrival — Relief force
The Knights of the Vale strike the Bolton line and reverse the battle. On the atlas, this point belongs to Northern approach. Its job is to change what can happen next: movement becomes harder, trust becomes weaker, defense becomes narrower, or a hidden truth becomes impossible to contain. From this stop, the page naturally moves toward Winterfell Return, carrying the consequence forward instead of treating the event as isolated.
8. Winterfell Return — Stark restoration
The battle ends with Ramsay defeated and the Stark banner returning. On the atlas, this point belongs to Winterfell. Its job is to change what can happen next: movement becomes harder, trust becomes weaker, defense becomes narrower, or a hidden truth becomes impossible to contain. From this stop, the page naturally moves toward Winterfell Gates, carrying the consequence forward instead of treating the event as isolated.
How this page should win search intent
Visitors searching for Battle of the Bastards Map usually want fast orientation first: the main locations, the correct order, the central turning point, and the ending. After that, they want context that a normal wiki-style paragraph does not provide. This page is built with a quick answer, route schematic, map-point cards, deeper analysis, a scanner table and FAQs so both casual fans and lore readers can find the right level quickly.
The strongest SEO angle is not keyword stuffing. It is topical completeness. Each page should answer map order, character or lore function, region names, battle/lore connections, and follow-up links. That creates a useful internal hub that can support related pages across Winterfell, the Wall, Riverlands, Iron Islands, King’s Landing, White Walkers, Stark routes and battle maps.
For publishing, keep anchor text descriptive and natural. Use names like “Winterfell battlefield map,” “Night King route,” “Riverlands road,” “Pyke and Winterfell route,” “Long Night lore map,” and “Battle of the Bastards field layout.” These anchors tell users and search engines exactly why the next page matters.
10/10 publishing angle for Battle of the Bastards Map
The reason this page can compete as a stronger SERP result is that it does not treat the map as decoration. It answers the obvious query first, then gives the reader a framework for why the route matters. A visitor can scan the quick answer, jump to the schematic, check the route cards, read the deeper analysis, or use the FAQ without needing another tab open.
The unique angle is the relationship between Winterfell Gates, Bolton Shield Wall, and Winterfell Return. The first point gives the map its original identity. The middle point creates pressure and changes the stakes. The endpoint shows what the route has finally become. This beginning-middle-ending structure is what turns a list of places into a memorable atlas page.
For topical authority, this page should be internally linked from every related character, house, location, battle and lore article. It should also link outward with exact context rather than generic read-more anchors. Strong examples include the specific location name, the regional map, the battle title, the connected house, and the nearest lore page. That makes the page useful to readers and also helps search engines understand where it sits inside the ThroneAtlas knowledge graph.
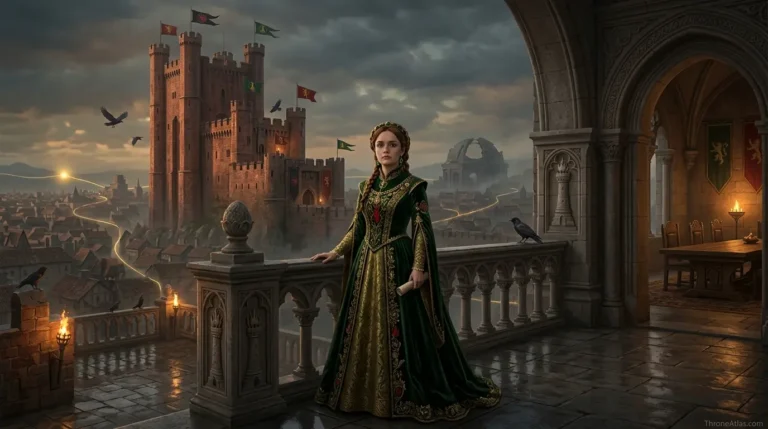
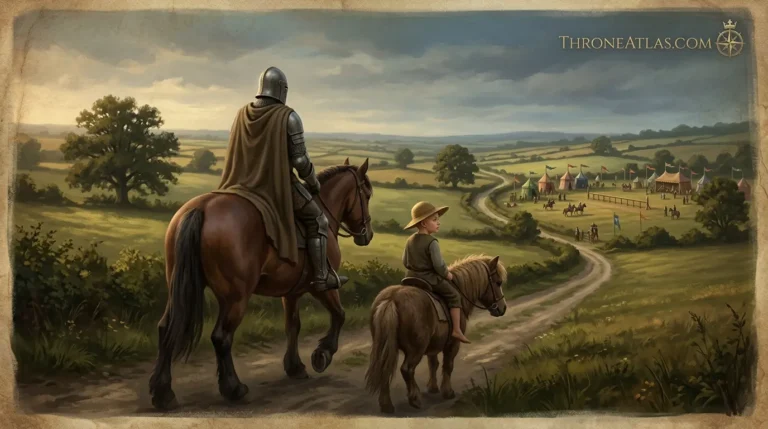
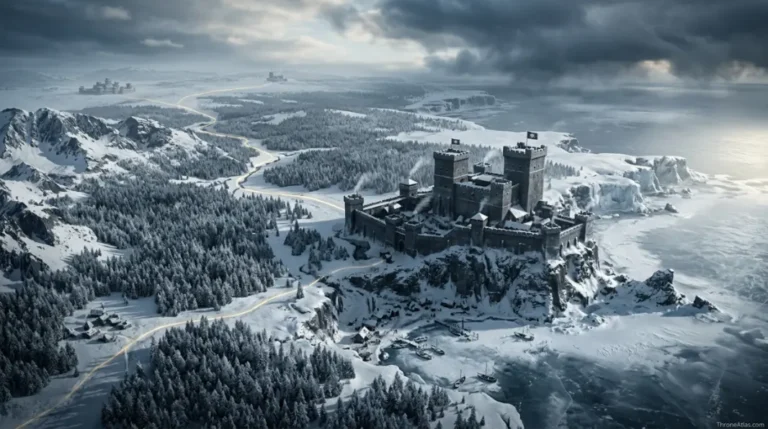
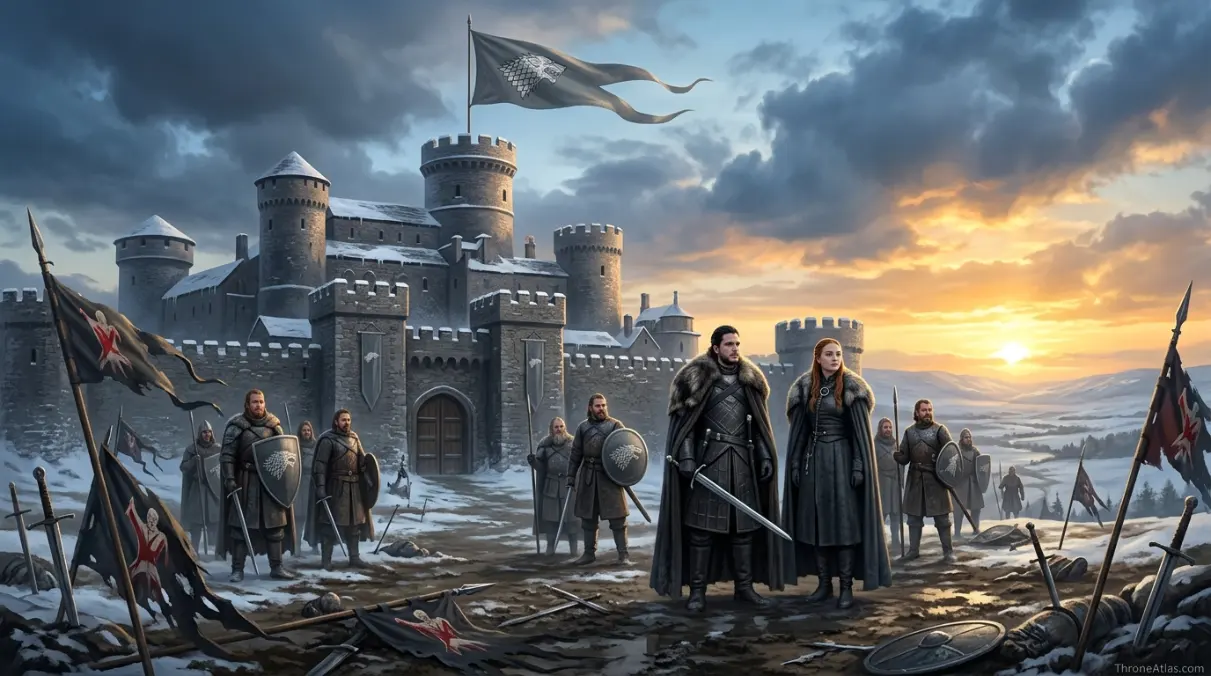
For image SEO, the WebP images are placed as real <img> elements with descriptive alt text instead of CSS-only backgrounds. That means the visuals support accessibility, image indexing and page experience at the same time. The hero establishes mood, the compass preserves the locked ThroneAtlas brand system, and the in-body images divide the article into readable map stages.
For human readability, the page balances quick answers with deeper interpretation. Short sections help mobile users, while the longer analysis gives serious fans enough context to stay, click related maps and understand how this page belongs inside the wider ThroneAtlas atlas rather than standing alone as a thin article.
The final result is designed for publication as a complete map hub: readable, visually branded, internally connected, accessible through alt text, and strong enough to support future clusters around houses, routes, battles and ancient lore.
Location order and story function
The table below condenses the map into a scanner-friendly format for readers who want quick orientation before moving into related maps.
| Location | Map role | Region / route | Story function |
|---|---|---|---|
| Winterfell Gates | Bolton control | The North | Ramsay holds the Stark seat and forces the battle outside its walls. |
| Rickon’s Run | Emotional bait | Open field | Ramsay uses Rickon to pull Jon into the battlefield alone and break discipline. |
| Jon’s Charge | Formation break | Open field | Jon’s emotional response creates a collision before his army can execute a clean plan. |
| Cavalry Collision | Chaos line | Battlefield center | The battle becomes a pile of horses, bodies and broken formations. |
| Bolton Shield Wall | Encirclement | Battlefield center | Bolton infantry compress Jon’s force into a killing pocket. |
| Wildling Crush | Survival pocket | Battlefield center | The Stark side nearly collapses under bodies, panic and pressure. |
| Vale Arrival | Relief force | Northern approach | The Knights of the Vale strike the Bolton line and reverse the battle. |
| Winterfell Return | Stark restoration | Winterfell | The battle ends with Ramsay defeated and the Stark banner returning. |
Battle of the Bastards Map Questions
It is fought in the open field outside Winterfell.
Ramsay uses Rickon Stark as bait, forcing Jon to charge before his army is properly positioned.
The Bolton shield wall and battlefield crush nearly destroy the Stark and wildling force.
Sansa’s alliance brings the Knights of the Vale, who break the Bolton line.
The Starks retake Winterfell and Ramsay Bolton is defeated.
Related maps, houses, battles and lore routes
Characters
ThroneAtlas is an independent fan-made atlas. Game of Thrones, House of the Dragon and related names belong to their respective rights holders. This page is for educational, lore-navigation and fan-reference purposes.